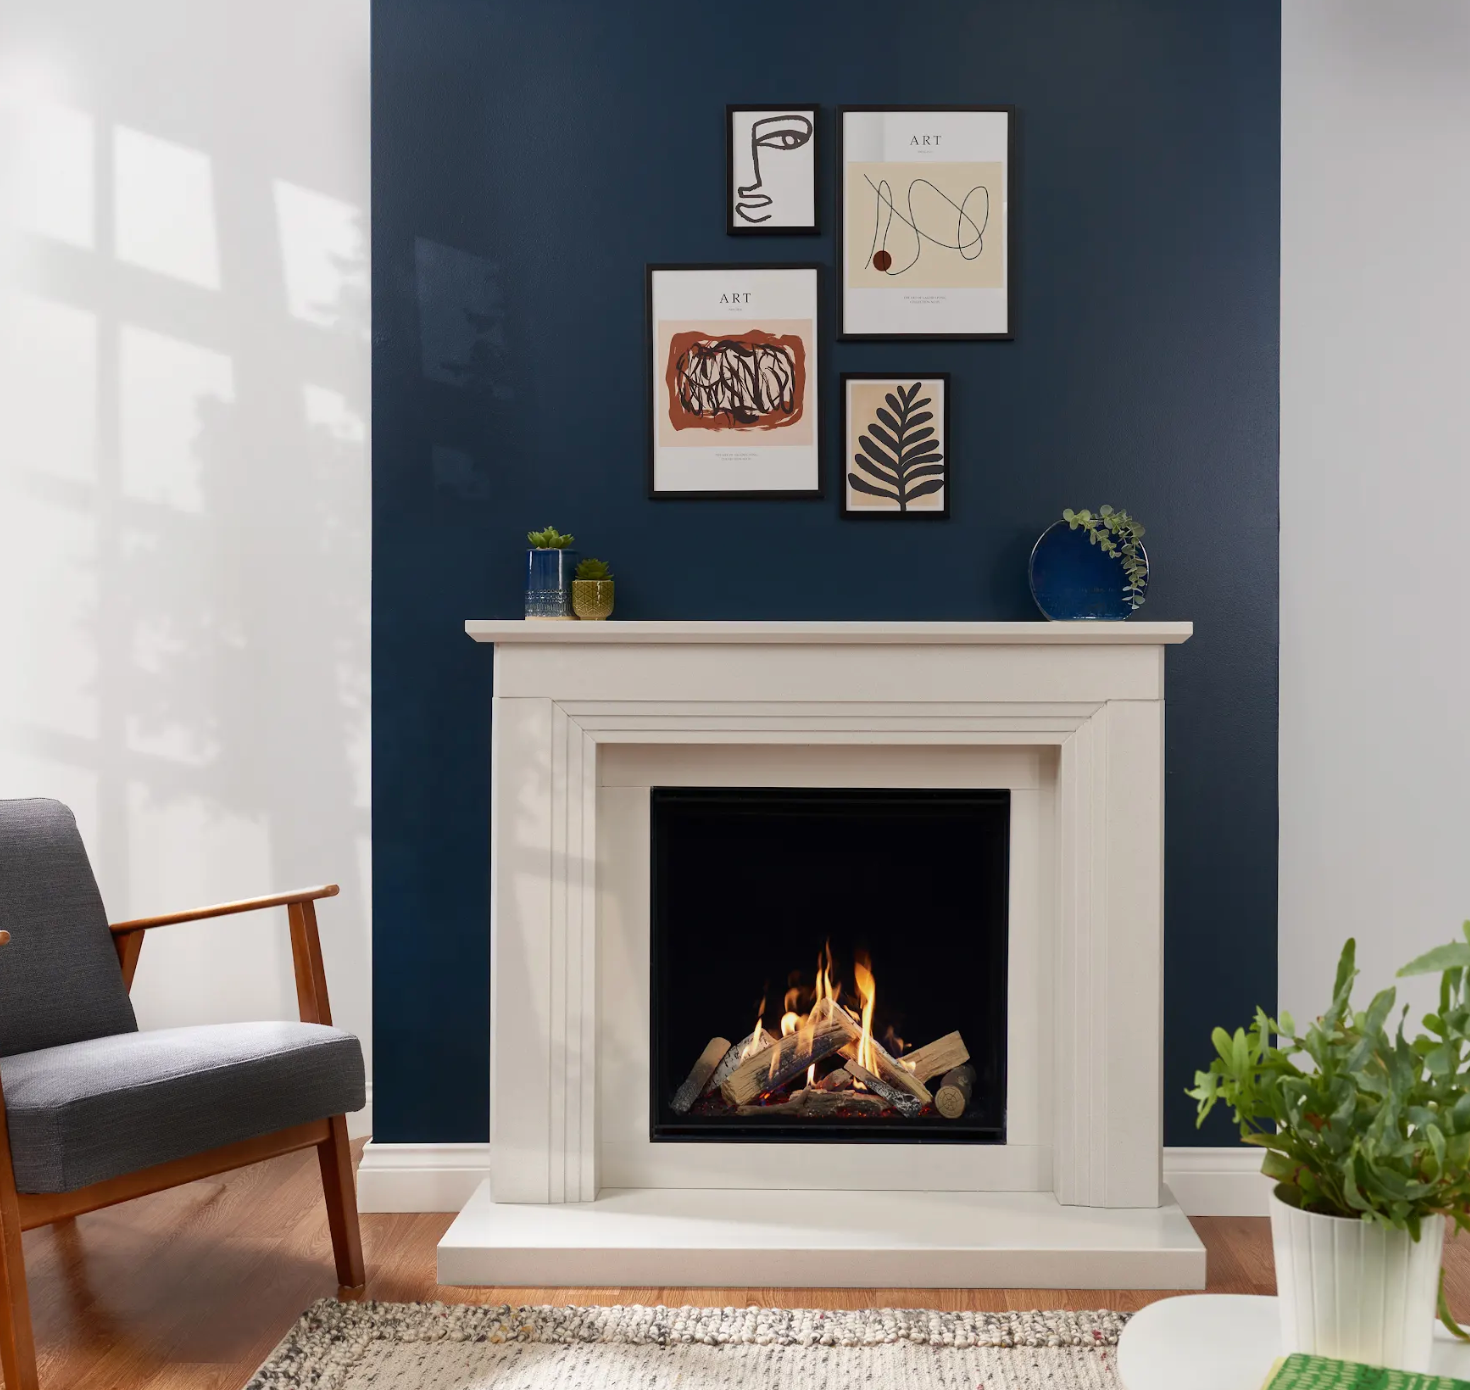
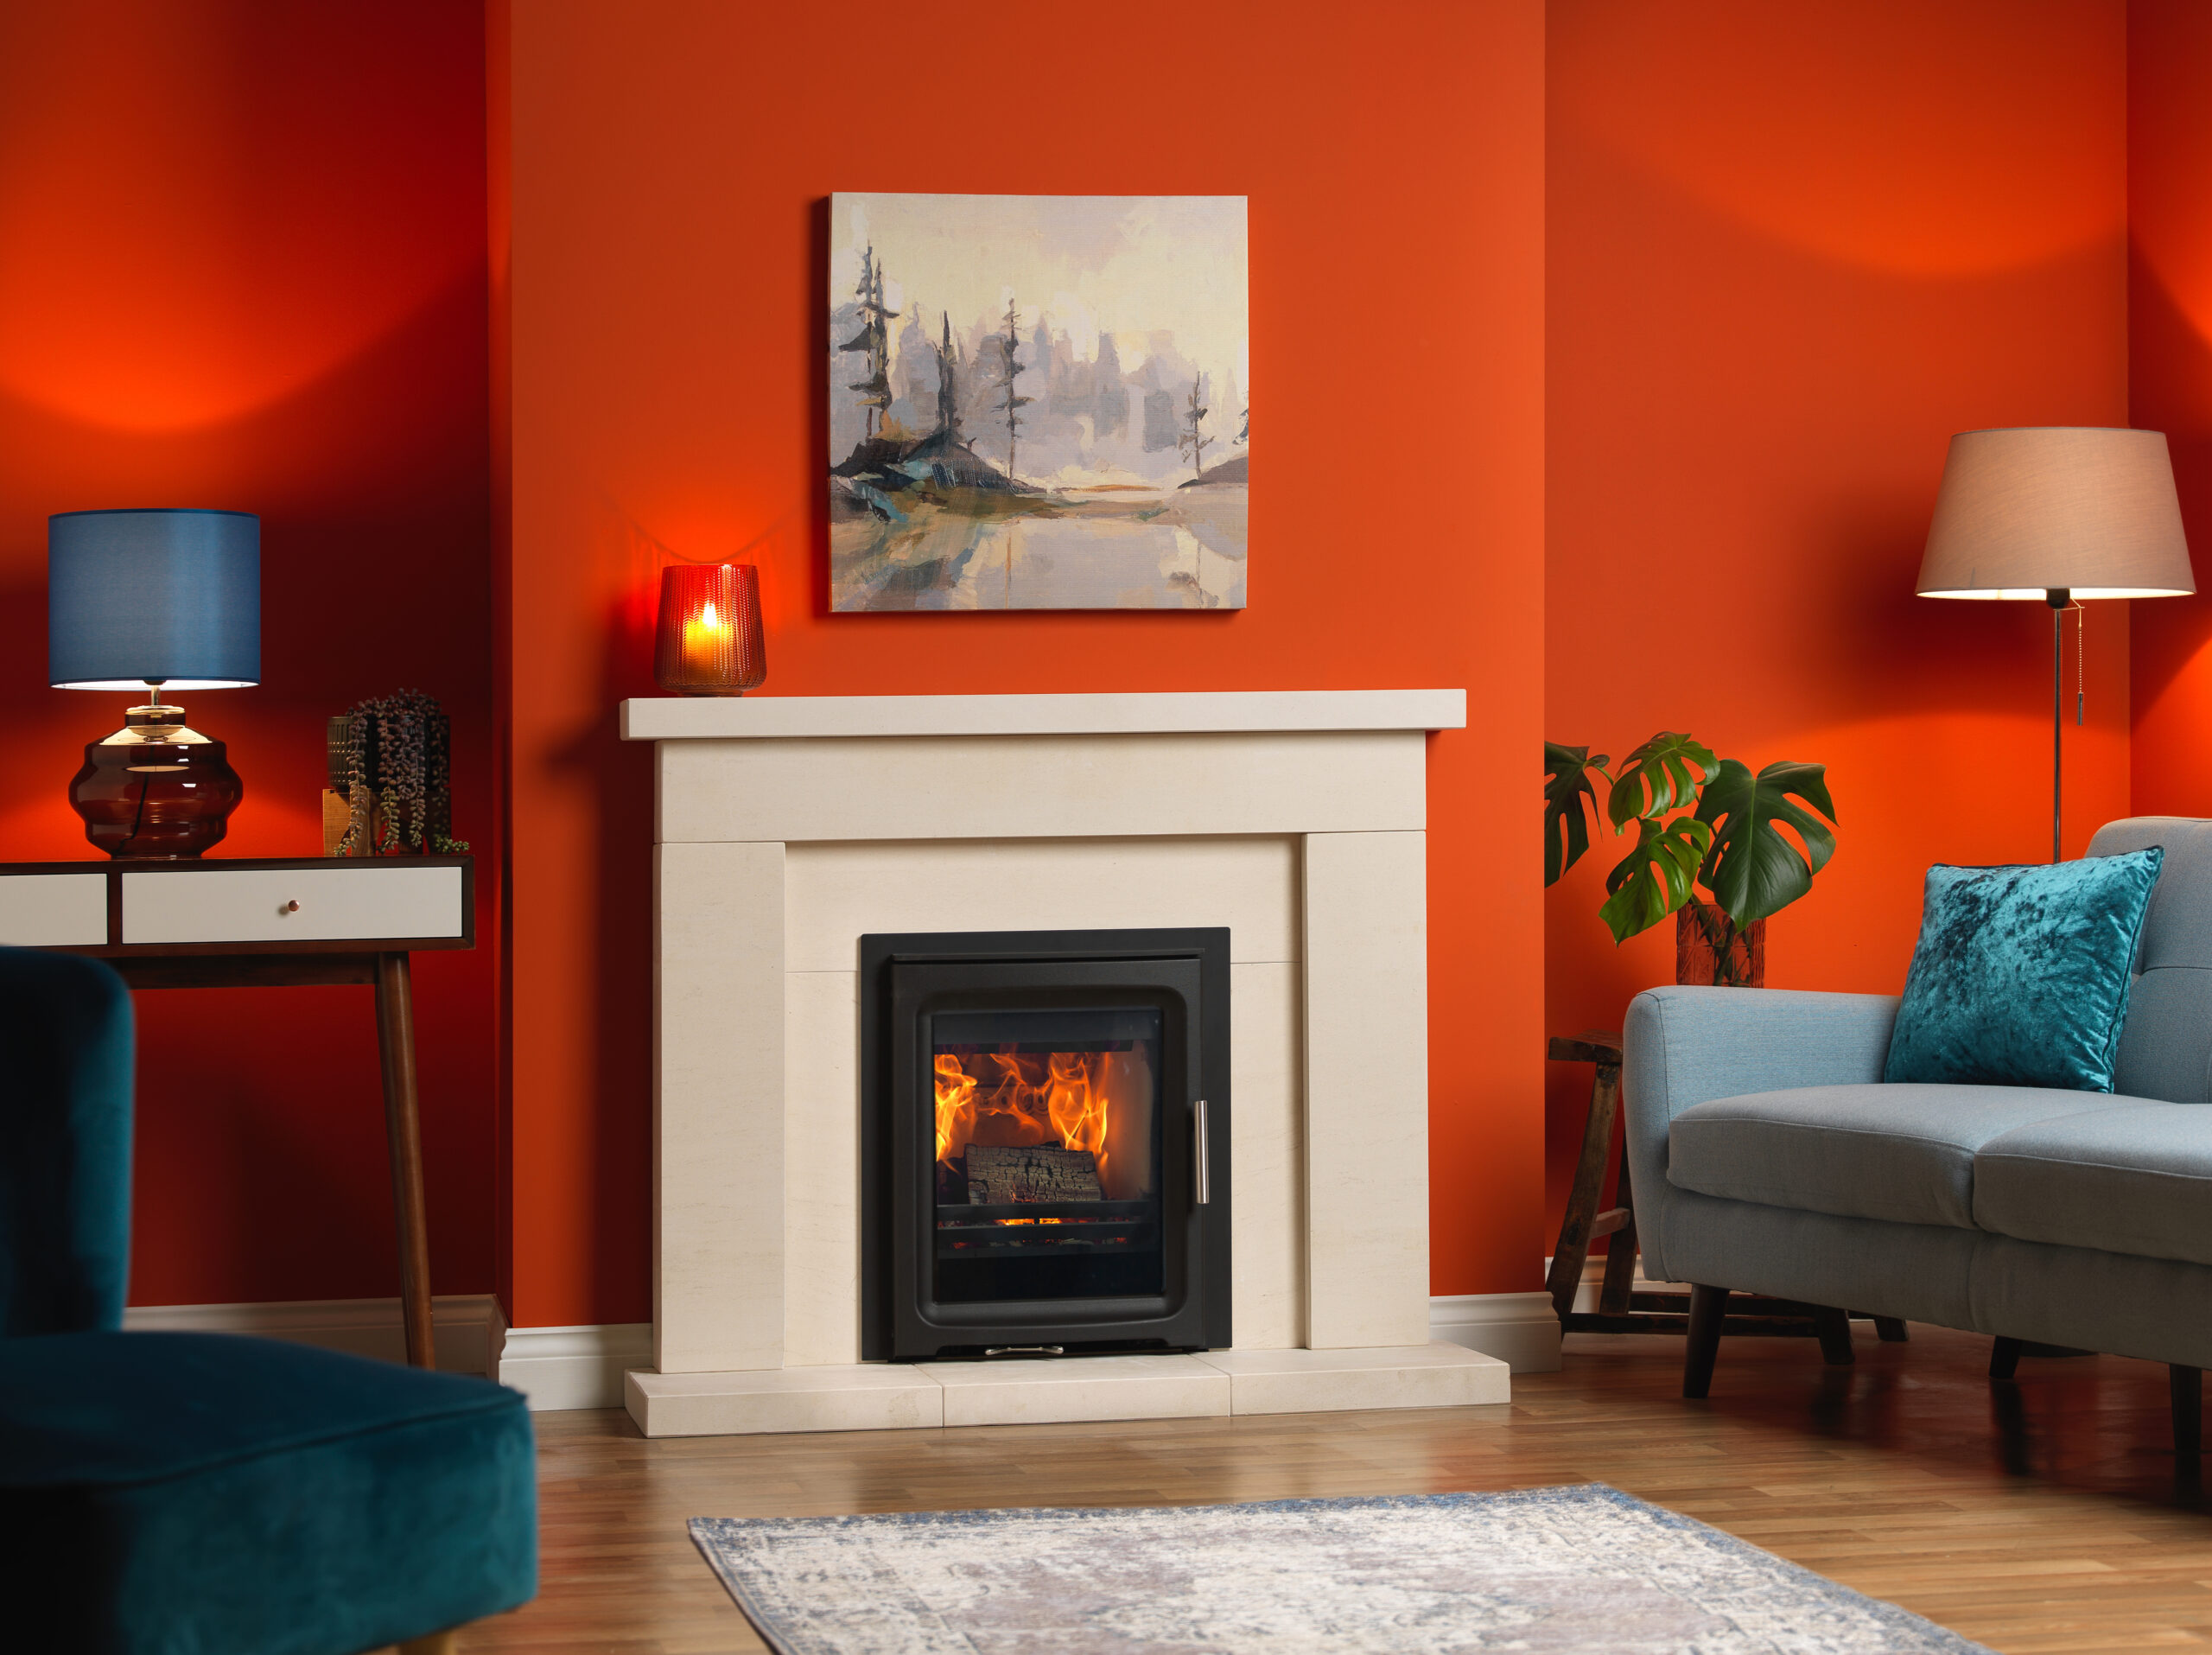
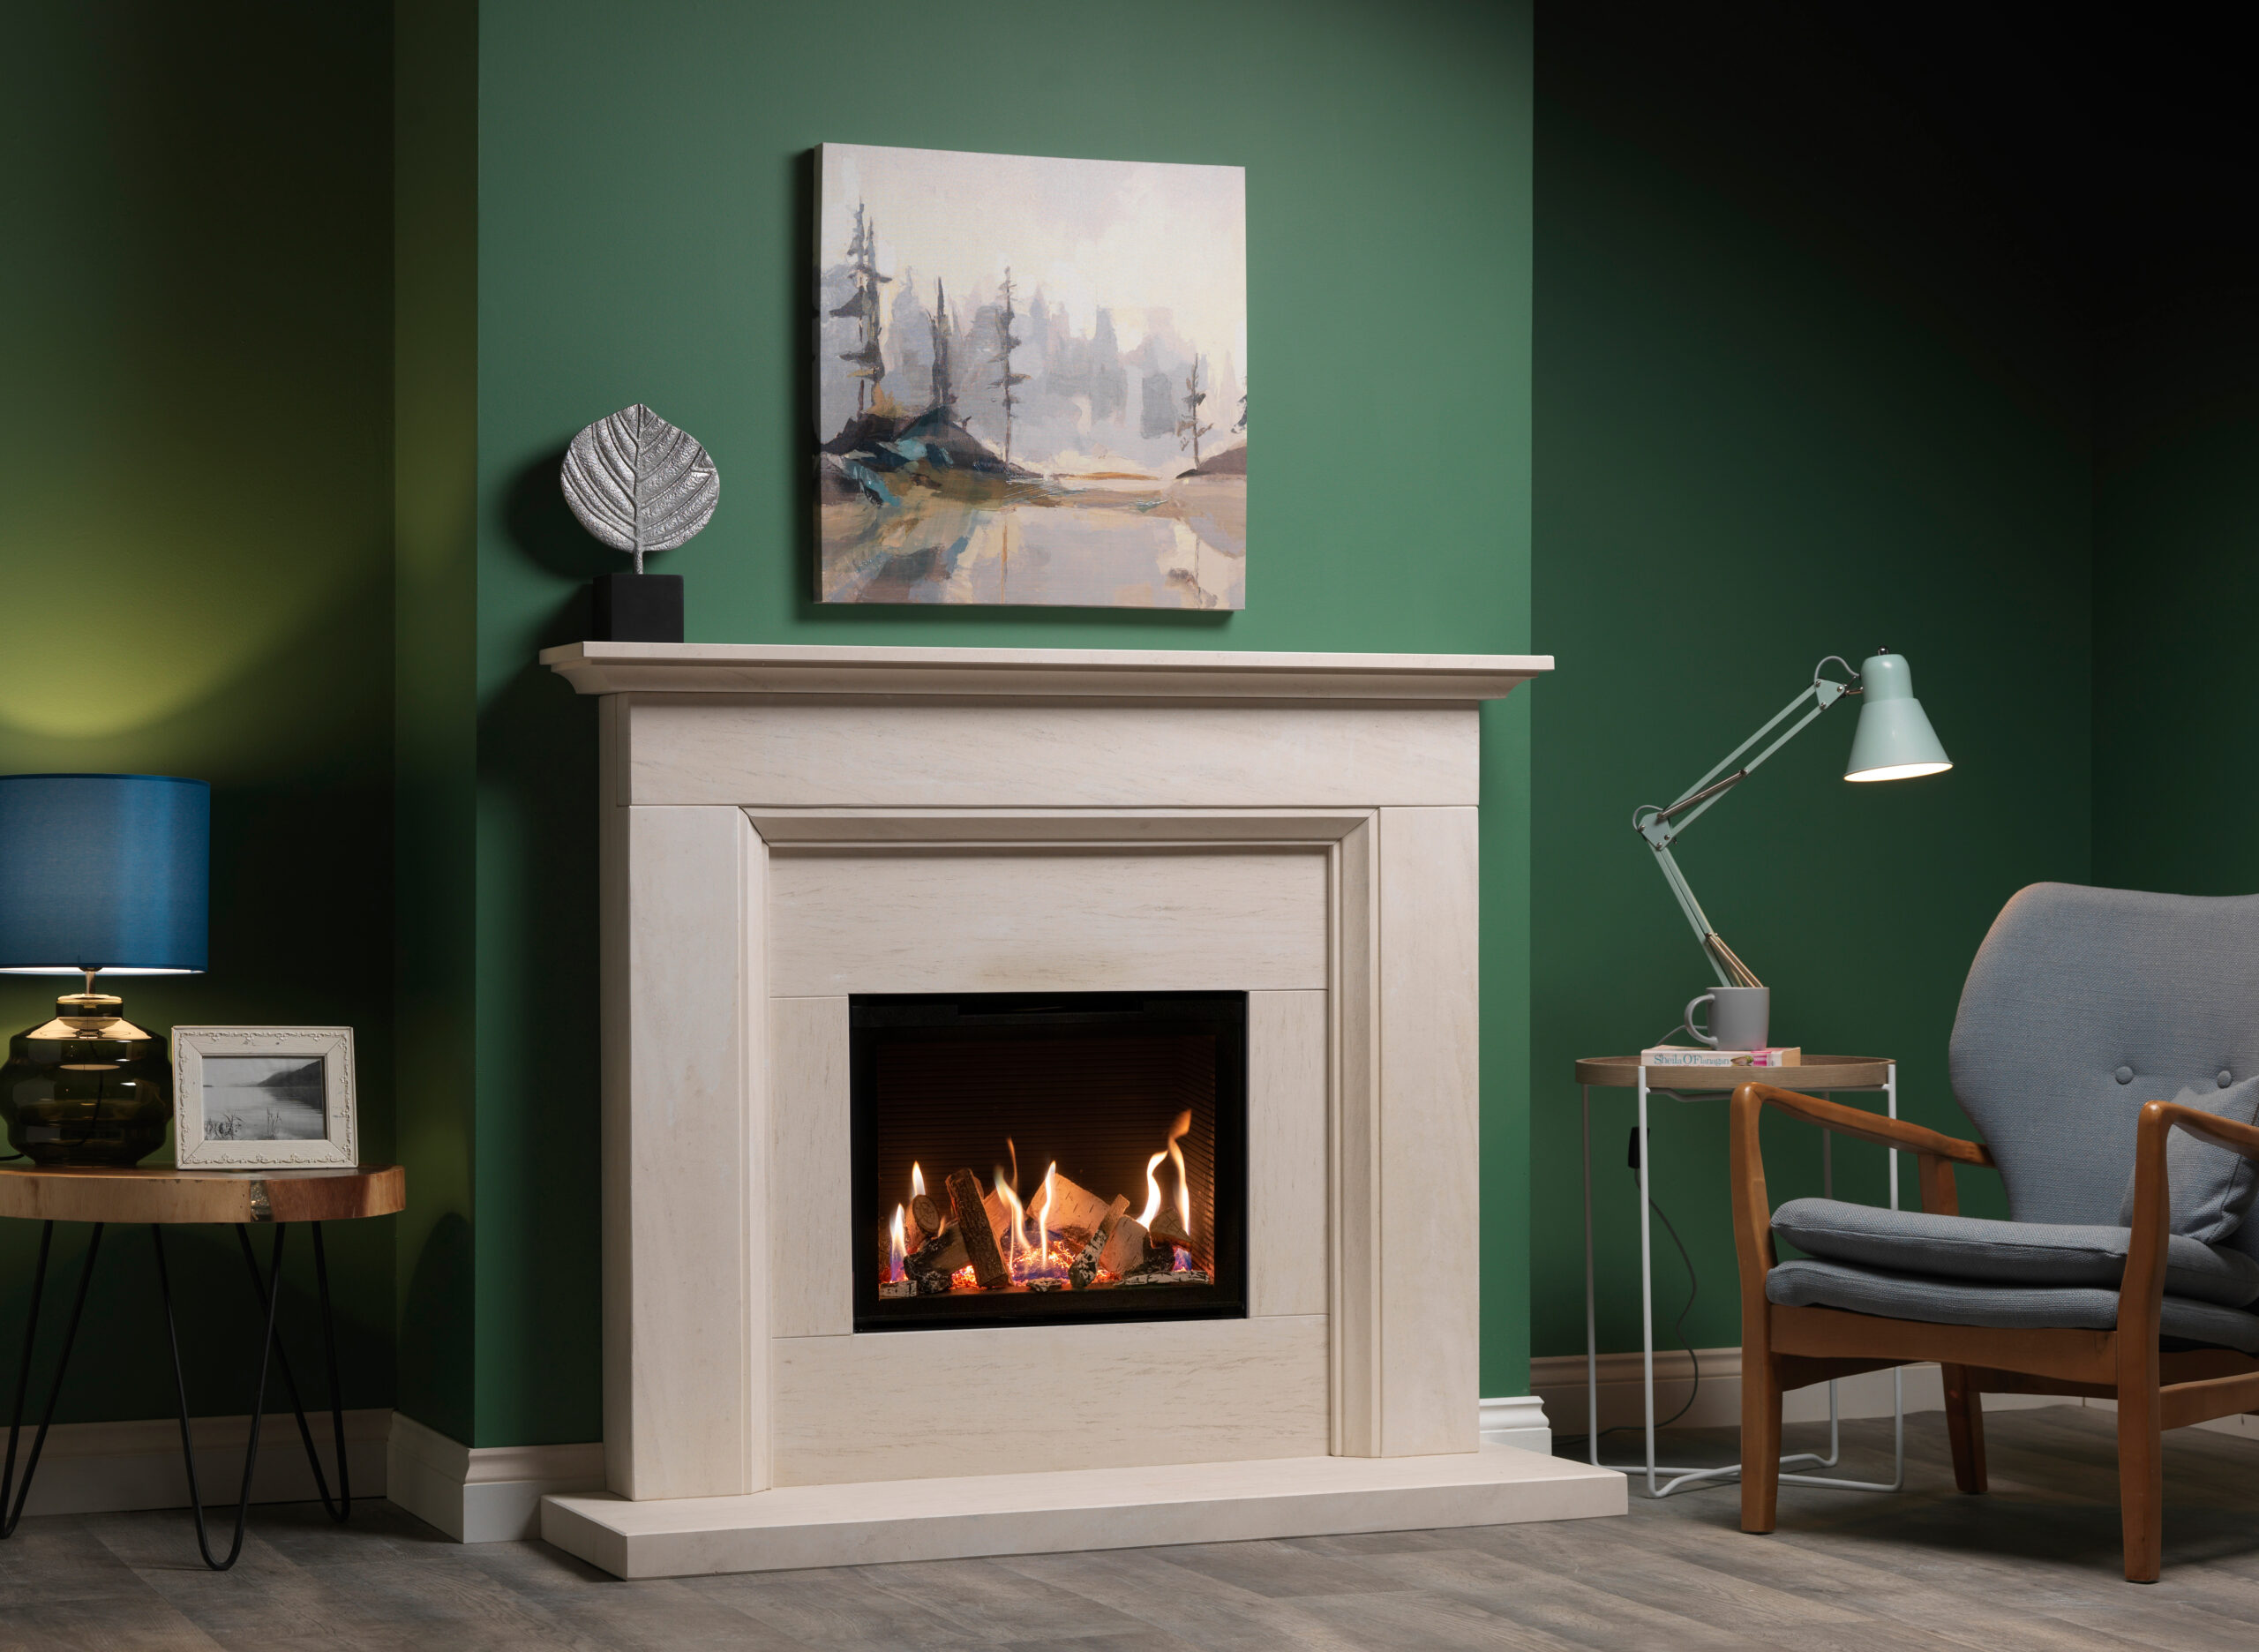
A limestone or marble fireplace is the ultimate in luxury. Both are incredibly tough and hardwearing. They are also both extremely heavy and should only be fitted by a competent fitter, and its a two person job. Make sure that you have read and fully understand these instructions before you attempt any installation of a fireplace.

All Stone and Marble fireplaces, as mentioned, are heavy and must be fixed by mechanical means to the structure of the wall. Wall construction can vary considerably, and it’s the installer’s responsibility to make sure a strong and lasting fix can be made.
Before the installation.
Check the construction of the supporting wall and that the wall is flat and free from any obstructions. Make sure you have the fireplace fixing kit and check that you have the appropriate fixings, such as wall plugs, screws etc. Finally, ensure the work area is clean and free from any obstructions and that the wall where the fireplace is to be installed is suitable for the wall fixings. If in doubt ask a building surveyor or architect.
Unpackaging and handling of limestone and marble.
Wood batons should be placed on the floor so that when the fireplace is unpacked, the components can be placed on them away from the floor. This also aids lifting and helps ensure that there is no damage to the edges of the stone or marble.
Make sure the screws and nails are removed and kept in a safe, convenient place.
Take the time to visually inspect all components, take your time here. Also, check for damage and that everything is supplied and present. Under no circumstances should a fireplace be installed without all the correct fixings.
The installation.
Remember – wall glues should not be used as an alternative to the correct mechanical fixings when installing a fireplace. This is when things really start to take shape. Sweep the floor around where the installation is taking place and the area is clear of any dust and debris. It’s strongly recommended that the rear and back edges of the fireplace and the bottom of the hearth be coated with a PVA (and let it dry) to make sure any adhesive or mortar used for fixing or sealing does not soak through and cause staining. Take the time to read the fixing kit instructions.
Prepare the area where the hearth is to be laid with a coat of PVA to help with the bonding of a cement bed for the hearth to sit. The hearth should be laid so that it is level back to front and side to side. Use a spirit level! Measure the header to determine where the legs will sit on the hearth, and mark the wall vertically with a straight line.
Carefully place the legs onto the hearth making sure that the outside edge is in line with initial mark on the wall. Place the header on top (this, in most cases, is a two person lift) and carry out fine adjustment of the legs to match any profiles. From this point you will be able to mark the wall where the appropriate fixing brackets will be secured.
Carefully remove these components back to the wood baton area and proceed to fit the fixing brackets to the wall. When screwing brackets to the wall, you must use appropriate securing screws and wall fixings (i.e. plugs), which should be suitable for the purpose. These are usually not included in a fireplace fixing kit because of the many different wall structures.

All limestone and marble fireplaces must be fixed back using the bracket system supplied, along with an adhesive substance. We would recommend that tile adhesive be used for this purpose.
When fitting the legs of the fireplace, we recommend that the fitter applies a coat of tile adhesive to the bottom edges of the foot as this will help protect from chipping, especially when working with soft stone like limestone. A coat of adhesive should also be applied to the back edges of the legs, which will be in contact with the wall to aid in securing these components. The legs are now ready to be lifted and secured onto the wall brackets.
Carefully place the marble or limestone back panel in position and secure it with adhesive. If the fireplace has an extended rebate, you may have to space the back panel from the wall with a Rockwool slab, Thermolite block, or similar product types. Note that the space between the back panel and the wall should be filled with non-combustible material, taking into account the fireplace’s intended purpose.
The header should now be fitted using the same process as leg installation.
Carefully place the shelf onto the header to determine and mark the wall for the wall fixing points for the shelf bracket. Remove the shelf onto the wood baton area.
Fit the shelf bracket to the underside of the shelf using the supplied fixing screw.
Now apply adhesive to all of the surfaces of the header where the shelf will be in contact, also apply adhesive to the rear edge of the shelf to aid additional security.
Place the shelf into the wall bracket location slot and carefully lower into its final position gently rocking from side to side and back to front to make sure that adhesion is spread evenly and that excess adhesive is expelled.
Using a suitable tool i.e. wall paper scraper, remove/refill the tile adhesive around all of the exposed edges.
Finally, wipe the wall and the surrounding area with a damp decorator’s sponge to ensure that all adhesive is removed and that all surfaces and joints are clean and smooth.


